telegram聊天记录入库elk
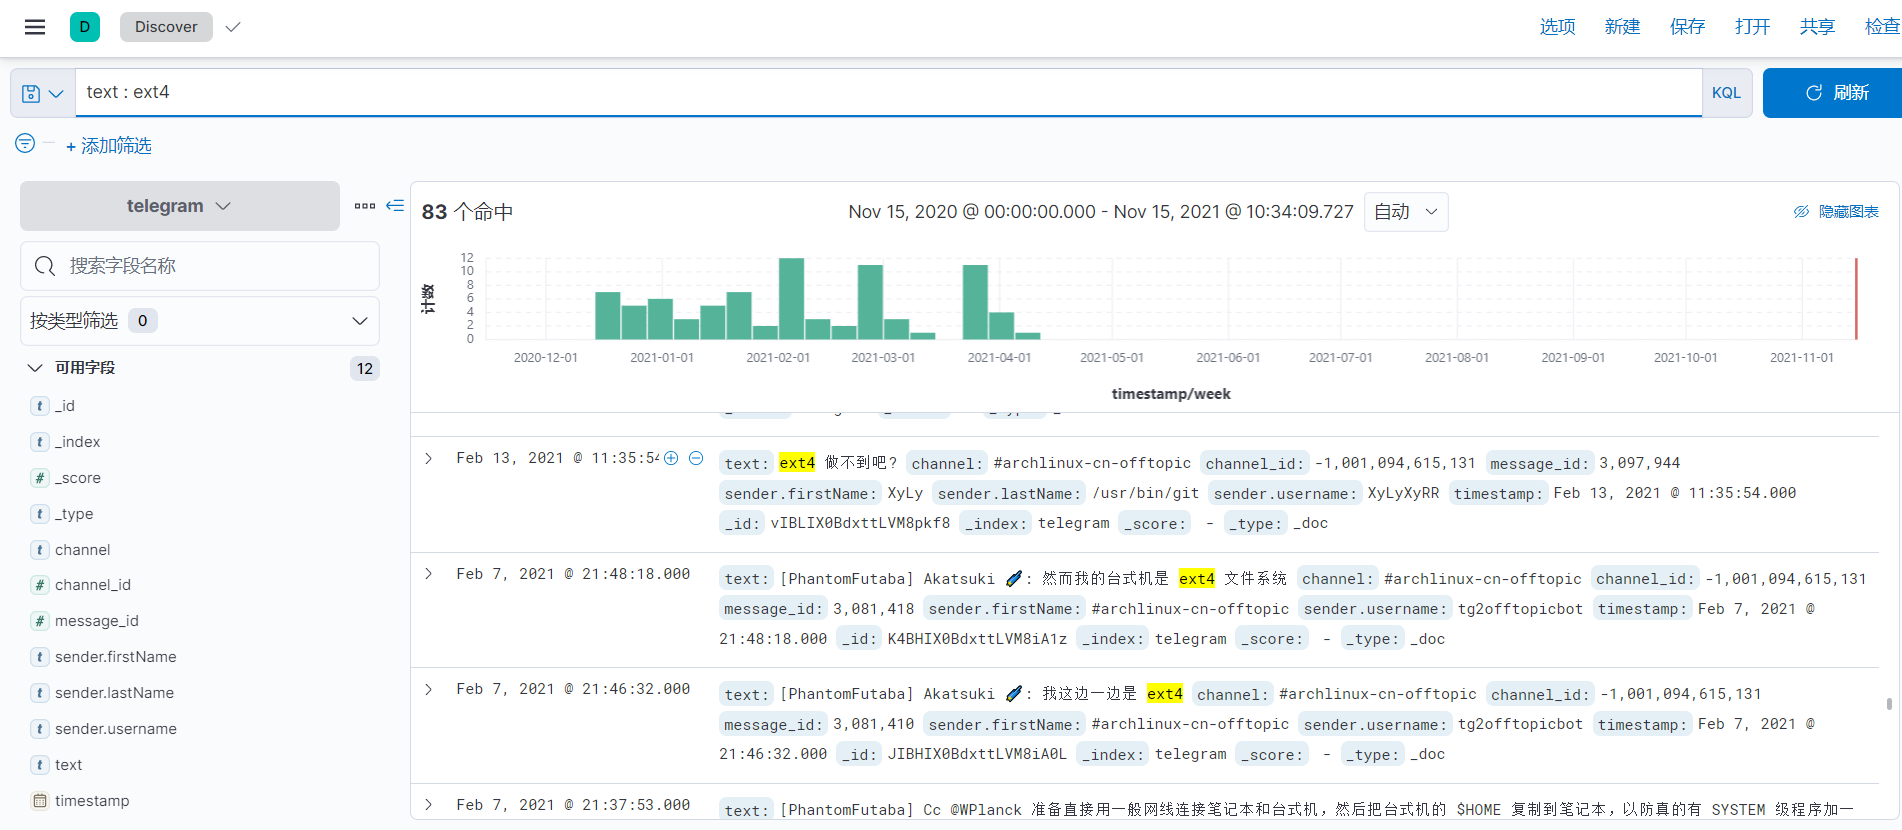
telegram中文搜索功能一直很差,但是telegram上面的内容搜索引擎却又无法索引,虽然已经有大佬做了一个专门的telegram引擎,但是只覆盖到部分群组,没有我想要的群组,为此抽空搞了下elk的方案去索引聊天记录
(仅用来学习交流,勿用于不符合法律法规操作)
docker-elk
docker-compose启动
安装elk最快的方式自然是docker的方式,es官方提供了dockerfile,只需要使用docker-compose启动即可
1 | git clone https://github.com/deviantony/docker-elk |
第一次下载镜像可能会慢点,安装完成后可以测试一下有没有安装成功了,浏览器访问kibana控制台即可http://127.0.0.1:5601。
重置密码
安装好后修改一下默认密码,免得出什么问题。对服务默认的账户进行默认密码重置:
1 | docker-compose exec -T elasticsearch bin/elasticsearch-setup-passwords auto --batch |
1 | Changed password for user apm_system |
(以上密码只是示例)
重置之后,接着修改下之前从git拉取下来的配置文件即可,主要涉及到三个文件
1 | docker-elk/logstash/config/logstash.yml |
对应上图输出的命令输出修改账号和密码即可
docker-elk/kibana/config/kibana.yml
1
2
3
4
5
6
7
8
9
10
11
12---
server.name: kibana
server.host: 0.0.0.0
elasticsearch.hosts: [ "http://elasticsearch:9200" ]
monitoring.ui.container.elasticsearch.enabled: true
# X-Pack security credentials
elasticsearch.username: kibana_system
elasticsearch.password: awWKyX2H
i18n.locale: "zh-CN"docker-elk/logstash/config/logstash.yml
1
2
3
4
5
6
7
8
9---
http.host: "0.0.0.0"
xpack.monitoring.elasticsearch.hosts: [ "http://elasticsearch:9200" ]
# X-Pack security credentials
xpack.monitoring.enabled: true
xpack.monitoring.elasticsearch.username: logstash_system
xpack.monitoring.elasticsearch.password: zXhnmeidocker-elk/logstash/pipeline/logstash.conf
1
2
3
4
5
6
7
8
9
10
11
12
13
14
15
16
17
18
19
20input {
beats {
port => 5044
}
tcp {
port => 5000
}
}
# Add your filters / logstash plugins configuration here
output {
elasticsearch {
hosts => "elasticsearch:9200"
user => "elastic"
password => "gkKDmNLRl"
ecs_compatibility => disabled
}
}
接着输入docker-compose restart重启即可
登录kibana
账号:elastic
密码:gkKDmNLRl
telegram聊天记录入库
获取聊天记录
注册应用
在手机浏览器(电脑注册可能会出现error情况,尚未明确原因,可能和去广告插件或者代理有关)上面访问https://my.telegram.org/apps,注册一个应用,url不用填
获取到api_id和api_hash即可
api封装
telegtam提供了众多api并有自己的私有协议,自己实现起来略复杂,不然直接用封装好的即可,看了一圈,发现telethon比较完善:LonamiWebs/Telethon: Pure Python 3 MTProto API Telegram client library, for bots too!
说明文档里面提到的这几个包可以安装一下,主要用来提升代码运行效率
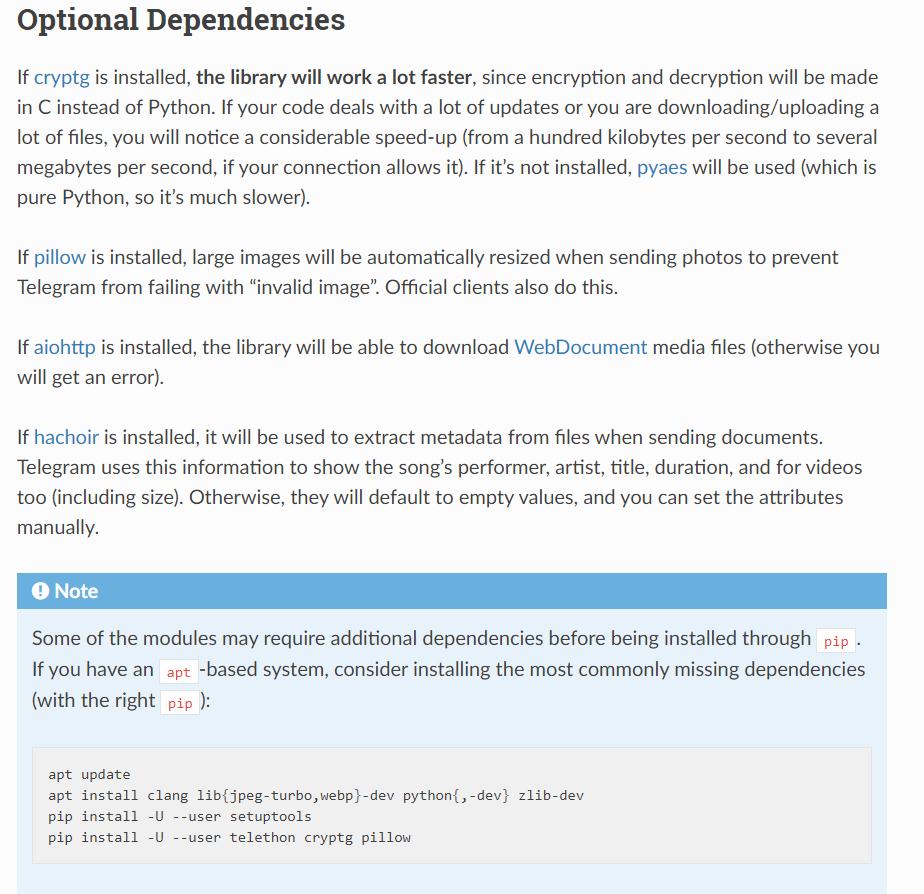
Installation — Telethon 1.23.0 documentation
登录
1 | from telethon import TelegramClient |
这里如果要使用代理访问api的话,需要安装下面教程安装下相关依赖
https://docs.telethon.dev/en/latest/basic/signing-in.html?highlight=proxy#signing-in-behind-a-proxy
第一个参数会在运行脚本的当前目录下生成anon.session文件,第一次登录后后面不需要登录了。
获取到频道的聊天记录
1 | async def load_history_to_save(self): |
上面可以获取到某一个频道的所有聊天记录
- channel_id:频道id,在telegram客户端可查看,比如
archlinux-cn-offtopic群的id是-1001094615131 - reverse:按照时间从最旧到最新的顺序输出日志
- message:信息封装对象,具体属性可看https://docs.telethon.dev/en/latest/quick-references/objects-reference.html?highlight=message#message
- offset_id:因为导出记录较大,所以可能一次性导入不太可能,需要记录已经导出的位置。
入库es
Python操作es
使用官方的es操作封装库
elastic/elasticsearch-py: Official Elasticsearch client library for Python
1 | from elasticsearch import Elasticsearch |
保存到es
首先需要对上面获取到的message进行格式化,提取出想要的内容
1 | from telethon.utils import get_display_name |
然后保存到es即可
1 | from elasticsearch import Elasticsearch |
这里将已保存到es的消息的最新id保存到文本中,每次保存一条记录就更新id,用于保存已经处理的位置
使用自带的pickle将dict保存到文本中
1 | import os |
所以,在脚本刚启动的时候还需要初始化一下最新的id
1 | from loguru import logger |
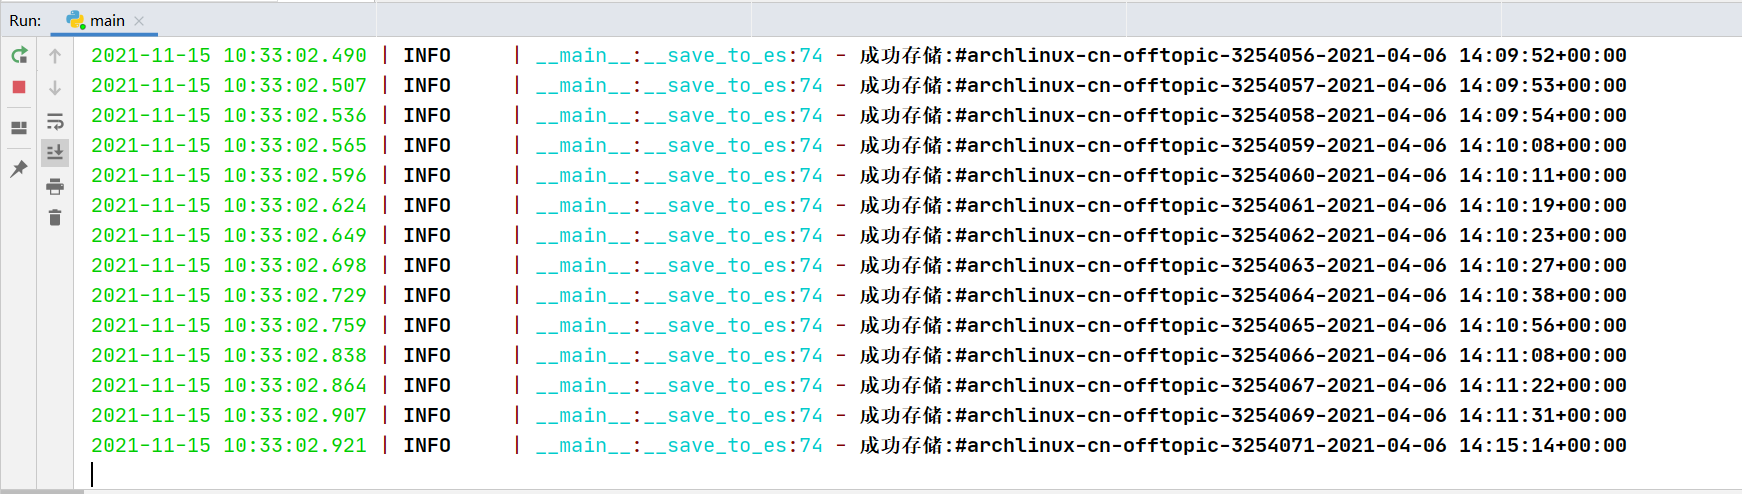
启动
完善代码拉取数据和保存到es代码:
1 | async def load_history_to_save(self): |
启动脚本运行
1 | def start(self): |
效果